
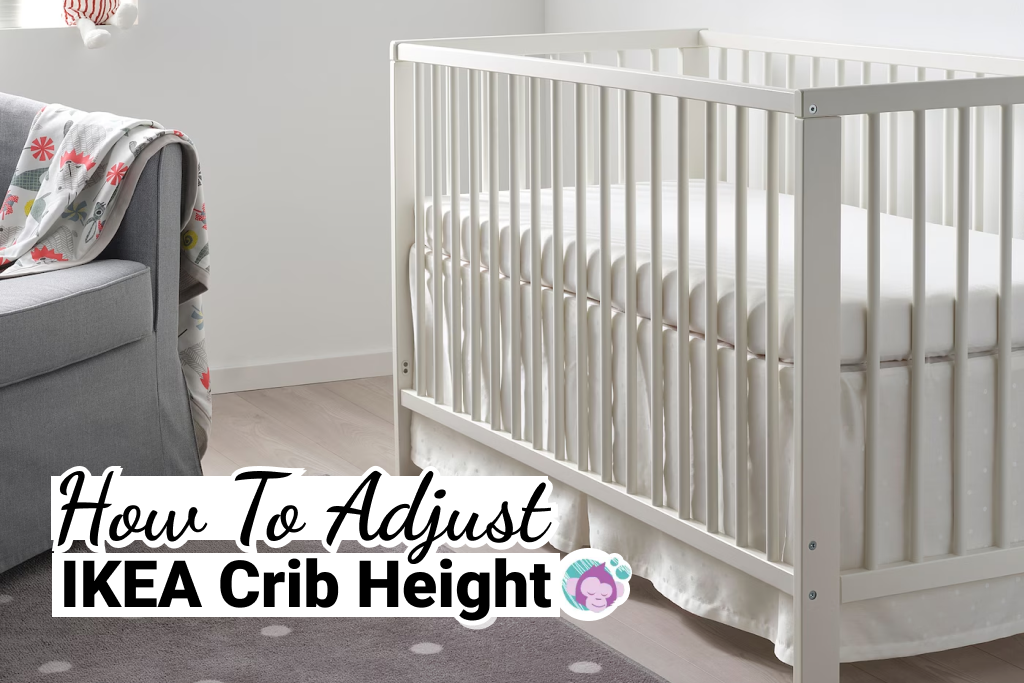
A step-by-step guide to lowering any IKEA crib from a DIY-loving dad. Covers preparation, tools needed, and overcoming challenges. Video included.
As a father of two who loves a good DIY project, I’m here to guide you through the process of lowering your IKEA crib. Whether you have a Sniglar, Gulliver, Stuva, Sundvik, Hensvik, Foljar, or Gonat crib, this guide is for you.
Lowering a crib might seem daunting, especially if you’re not a DIY veteran. But don’t worry, I’ve got you covered. This step-by-step guide will walk you through the process, making it manageable and enjoyable.
This guide will cover the following:
What’s more, a video below walks you through the process. You can watch a fellow dad lower an IKEA crib in real-time, making it easier to follow. It’s like having a friend guiding you through each step.
So, are you ready to dive into DIY crib adjustments? Let’s get started!
Getting Your Crib Ready for the Transformation
Before we dive into the nuts and bolts of this project, it’s essential to prepare your crib for the adjustment. I can’t stress enough the importance of preparation. But don’t worry. It’s not complicated, and I’ll guide you through each step.
- Remove the mattress from the crib: Carefully lift it safely and set it aside. This will give you clear access to the crib’s structure, making the rest of the process easier. Plus, it keeps your mattress clean and out of the way.
- Flipping the Crib Up: This might sound like a two-person job, but trust me, it’s doable. Just make sure to do it gently to avoid damaging the crib. Flipping the crib up will give you better access to the screws we’ll work on within the next steps.
Your crib is now ready for its transformation. It sets the stage for a smoother process.
Now, let’s move on to the tools you’ll need for this project.
The Essential Tools for Lowering Your IKEA Crib
As a DIY-loving dad, I’ve learned that having the right tools can make all the difference in a project. When it comes to lowering your IKEA crib, there are a couple of tools that you’ll need to have on hand. Don’t worry. They’re standard items that you likely already have in your toolbox.
- Allen Wrench: This handy tool is essential for any IKEA furniture project. It’s used to turn screws with hexagonal sockets, commonly found in IKEA products.
- Screwdriver: You’ll need a screwdriver. This is used to tighten or loosen screws. For this project, you’ll need to adjust the screws that hold the crib together. A standard flat-head or Phillips-head screwdriver should do the trick.
Now that we’re armed and ready let’s get down to the main event: lowering the crib.
Lowering Your IKEA Crib
Lowering the crib involves removing the screws and changing the crib’s position. It might sound complicated, but with patience and precision, you’ll have it done in no time. Remember, the goal is to create a safe and comfortable space for your baby.
Step 1 – Removing the Screws: The First Step in Lowering Your IKEA Crib
The first major step in lowering your IKEA crib is removing the screws. Don’t worry. It’s more manageable than it might sound. Let’s break it down together.
- Identify the Screws: The first thing you need to do is identify the screws that need to be removed. In IKEA cribs, these are usually located on the sides, securing the crib’s frame. They’re easy to spot once you know what you’re looking for.
- Use Your Allen Wrench: Once you’ve located the screws, it’s time to put your Allen wrench to work. Fit the wrench into the head of the screw and turn it counterclockwise. Remember, the old saying “righty tighty, lefty loosey” applies here. Turning counterclockwise will loosen and eventually remove the screw.
- Keep the Screws Safe: As you remove the screws, make sure to keep them in a safe place. You’ll need them later when you reassemble the crib at its new height. A small plastic bowl or cup can be a great place to store them temporarily.
Now that the screws are removed, we’re ready to move on to the next step: changing the crib’s position.
Step 2 – Changing the Position: The Next Step in Lowering Your IKEA Crib
As a DIY-loving dad, I know that adjusting the position of your IKEA crib might sound like a big task, but I promise it’s manageable. Once you’ve removed the screws, the next step is to change the crib’s position. Let’s walk through this process together.
- Identify the New Position: First, you must identify the new position for the crib. IKEA cribs typically have multiple height settings, so you can choose the most suitable for your baby’s age and mobility. The lower settings are safer for older babies who can pull themselves up.
- Adjust the Crib Sides: Once you’ve chosen the new position, it’s time to adjust the crib sides. Carefully lift the sides and align them with the holes corresponding to your desired height setting. This is where you’ll reinsert the screws you removed earlier.
- Secure the Crib Sides: With the crib sides aligned with the new position, it’s time to secure them. Using your Allen wrench, reinsert the screws into the holes and turn them clockwise to tighten. Remember, “righty tighty.” Ensure the screws are secure but don’t overtighten them, as this could damage the crib.
And there you have it! You’ve successfully changed the position of your IKEA crib.
But, as with any DIY project, there might be a few bumps along the way. Let’s discuss some potential challenges and tips to overcome them.
Tips for a Smooth IKEA Crib Transformation
As a dad who’s been through a fair share of DIY projects, I can tell you that every project comes with its own challenges. Lowering an IKEA crib is no exception. But don’t worry. I have some tips to help you navigate these challenges and ensure a successful crib transformation.
Challenge 1: Lining Up All the Holes
One of the challenges you might face is lining up all the holes when putting the crib back together. It can be tricky, especially when dealing with multiple dowels, screw holes, and pins.
Tip: Start with the Pins! To overcome this challenge, start by inserting the pins into the corresponding holes. Once the pins are in place, you can align the dowels and screw holes. This method makes it easier to ensure everything lines up correctly.
Challenge 2: Moving the Bumper
Another challenge is moving the bumper. It can be stubborn and requires some extra effort to move around.
Tip: Be Patient and Gentle! My advice here is to be patient and gentle. Forcefully moving the bumper could damage it. Instead, gently wiggle it until it moves. Remember, it’s not a race. Take your time to ensure you don’t damage any parts of the crib.
Conclusion
Congratulations! You’ve successfully lowered your IKEA crib. It’s not just about following instructions; it’s about the satisfaction of creating a safe and comfortable space for your baby.
Now, let’s take a moment to admire your handiwork and imagine the sweet dreams your baby will have in their newly adjusted crib.